Installing the USB Driver
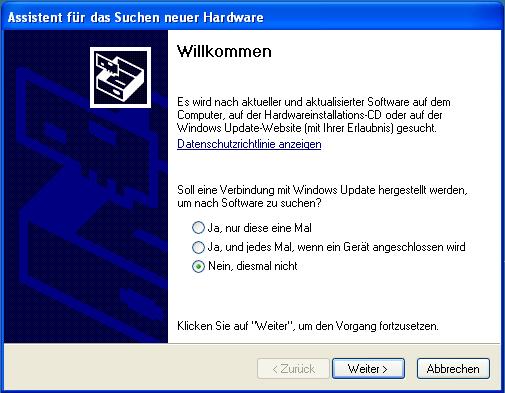
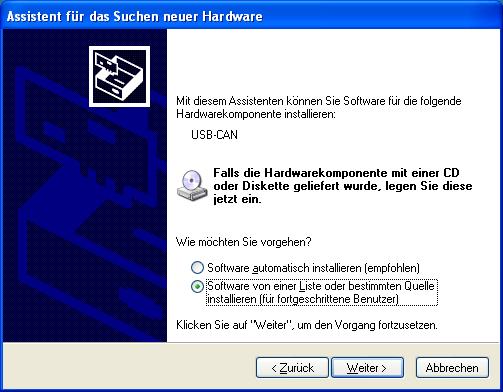
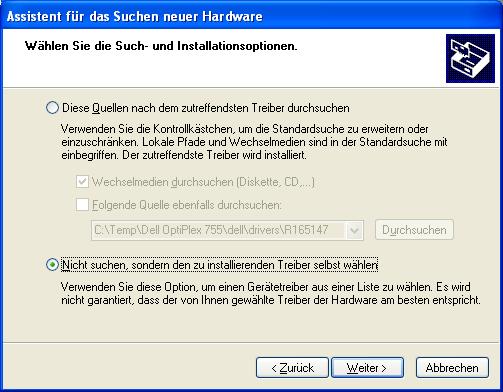
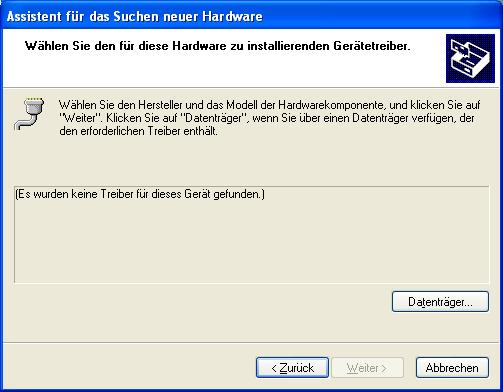
In order for the communication between the board and a PC to function, the USB driver has to be installed. Use a USB cable to connect the board to the PCB. When using windows, it will ask where to search for the software for the connected hardware (CAN board). Neglect the automatic search and select the location of the software (the USB driver) manually.
Figure 1.11: USB Driver Installation Step 1
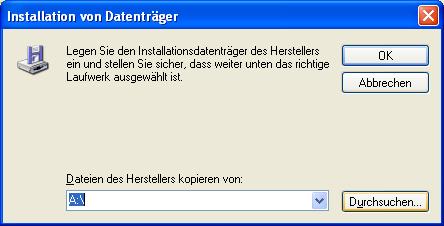
Figure 1.12: USB Driver Installation Step 2
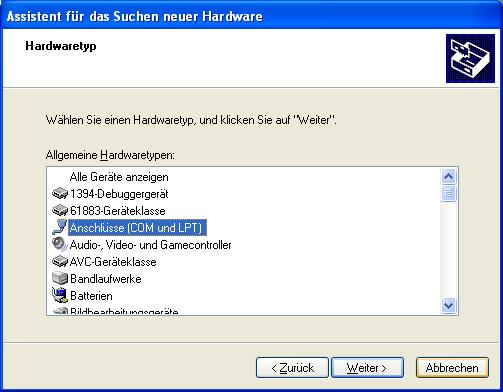
Choose “COM and LPT” as hardware type.
Figure 1.13: USB Driver Installation Step 3
Figure 1.14: USB Driver Installation Step 4
Select the location of the USB driver.
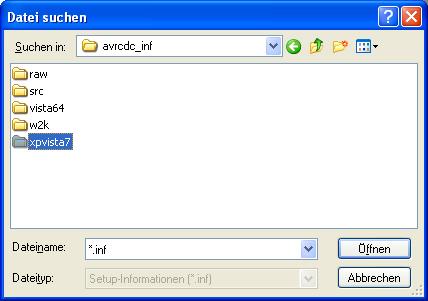
Figure 1.15: USB Driver Installation Step 5
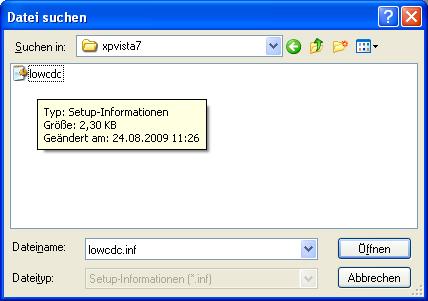
Figure 1.16: USB Driver Installation Step 6
Select the correct driver for the operating system on your PC. The driver is of the data type .inf.
USB Driver Installation Step 7
USB Driver Installation Step 8
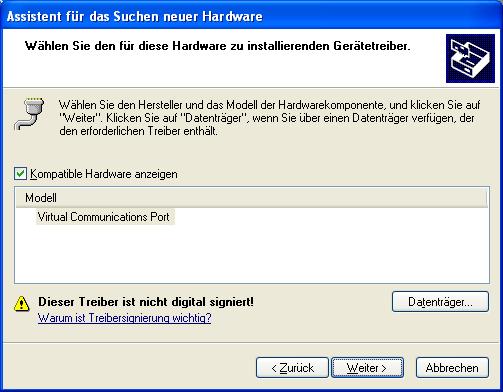
Select “Virtual Communications Port” and move on.
Figure 1.18: USB Driver Installation Final Step
Now the board should be recognized by the PC. Open the Can-USB-Terminal.exe to communicate with the CAN board.
